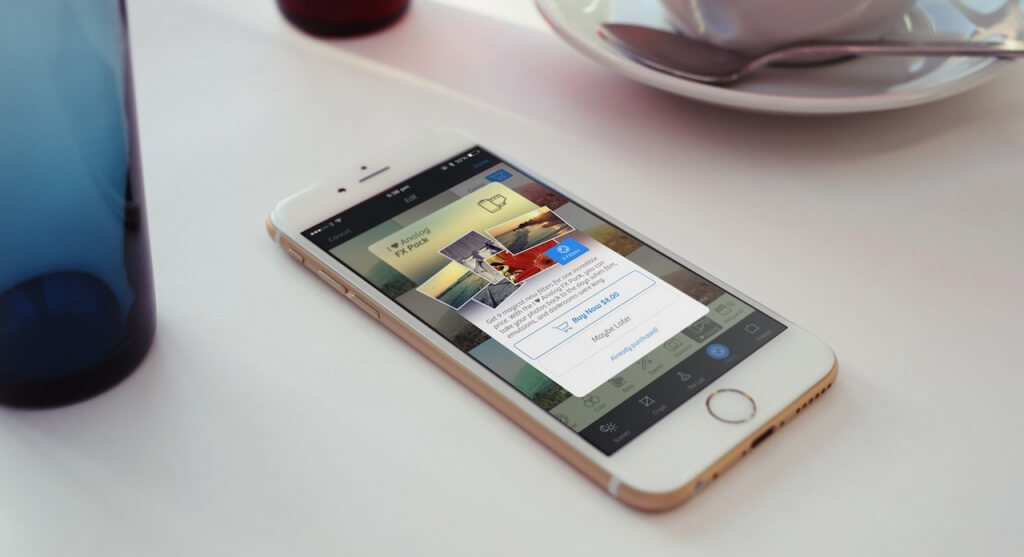
Many applications today provide the option to get extra content and features by making purchases through them. This technique, known as In-App Purchases, has become a fashion during the last few years, and it has proven to be quite profitable and efficient. Undoubtably, we all have downloaded apps from App Store that gave us the option to get additional material by purchasing it through them.
It’s an undeniable fact that the most of the developers’ (and Apple’s of course) revenue the last couple of years is based on the In-App Purchases. And if we think a bit about it, why not? In-App Purchases (or in short IAP) consist of a great tool for developers, and of a nice option for users. With it, both sides can be happy; developers can sell their apps for free in the App Store with a few features enabled so they attract more users to try them, and integrate IAP for unlocking additional content after having purchased it. Users, on the other hand, can buy only the content or features they are interested in, without having to pay for parts of the app they don’t want to use. And as it has been proved, this strategy has increased the income for almost all developers that use IAP.

So, as you assume, in this tutorial I’m planning to show you how to integrate In-App Purchases in your apps. As you’ll see, doing so it’s not difficult, and the steps you have to follow are pretty much always the same. In short, here’s what it takes in order to integrate In-App Purchases into an iOS app:
- Perform some basic project configuration in Xcode.
- Create In-App Purchase product records in the iTunes Connect portal.
- Add specific code to get the IAP product info from Apple and perform payments.
Of course, we are going to see each one of the above steps in details in the following parts. However, before we do that, let me underline a few facts and concepts you should be aware of in advance. In the above list, I used the term “product“, and that wasn’t random. This term is also used by Apple when you deal with IAP, and additionally it represents what you sell inside your app. Every In-App Purchase product falls to one of the following categories, depending always on the app’s nature and the kind of the purchase:
- Consumable: This kind of product can be purchased multiple times, and not just once. For example, in a game a consumable product can be a number of extra lives for the main hero. Consumable products unlock app features just for a small period of time, and they don’t have permanent effect.
- Non-Consumable: This category is the exact opposite to the previous one, and as you understand the purchase of a non-consumable product is made just once. For example, buying extra fonts for a text-editing app must be done just one time, and the extra fonts must be available from there on and forever.
- Renewable Subscriptions: You can guess based on its name what this product kind is for. With this, the purchase must be renewed from time to time (the interval can be specified in the iTunes Connect), and it’s suitable in cases you sell a service that requires a subscription.
- Non-Renewable Subscriptions: On the contrary to the previous case, a non-renewable subscription lasts one time only and expires. It’s useful in cases the provided service doesn’t require a new subscription, and it’s going to end after a period of time.
Besides all the above, you should always keep in mind the proper way to test In-App Purchases while you are still in the development stage. That means that you should never user a real Apple ID and never pay with real money for the services or products you’re still building. Thankfully, you can work in a sandboxed mode by creating and using test users in the iTunes Connect platform throughout the development period. That way you can perform extensive testings on your In-App Purchases without paying even a cent.
Lastly, get prepared to test the demo app of this tutorial (and every app of yours that will integrate IAP) in a real device. You can’t make purchases using the Simulator, even though you can get the IAP product details and display them in the app.
For additional assistance and resources after you’ve finished reading this tutorial, the official documentation from Apple is the path you should definitely take, and I encourage you to do so. Due to the limitations that the tutorial imposes, there will be a few aspects that we won’t be able to cover here (I’ll say more right before the end of the tutorial), so don’t skip the original documentation.
